Instructions
- 1
 After giving the growkit a good cleaning with a dry cloth, wash your hands completely. Take off the lid and set it aside for step 2.
- 2
 Replace the growkit cover, add enough lukewarm (20°C) water to fill the growkit to the brim, and let it soak for five minutes.Remember, don’t soak the growkit for longer than an hour!
- 3
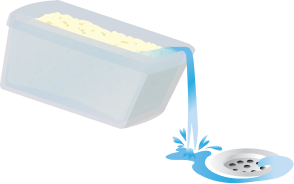 Take off the growkit’s lid and thoroughly empty the water. Give the growkit ten seconds to empty.
- 4
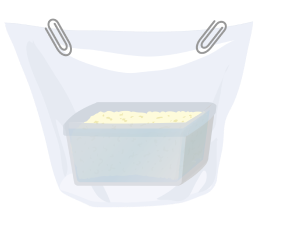 After setting the growkit inside the growbag, add a cup (200–250 ml) of warm (20°C) water to the growbag. Next, fold the bag’s top and secure it with two paperclips.
- 5
 The growkit should be placed in a room with an average temperature of 20 to 25°C. Verify that the growkit is not placed directly in the sun, beneath a lamp, or next to a radiator or other heat source.
It’s important to remember to keep the bag tight until the first pinheads appear. Up until that point, the bag’s CO2 and humidity levels ought to be as high as feasible.
- 6
 Once the first pinheads* appear, spritz the growkit with a bottle of water and let some fresh air into the growbag once a day for a few minutes.The earliest known types of microscopic mushroom caps are pinheads. The first pinheads may not appear for ten to twenty days.
- 7
 It is possible to harvest the mushrooms right before the membranes on the underside of the cap split open. Gently grip the stem and rotate it left or right while harvesting. Pull the mushroom out as gently as you can as it becomes free.
It’s important to remove the mushroom fully to make room for a new one.
- 8
 You’ve finished harvesting, congratulations. You can now cultivate another flush of mushrooms by going through steps 1 to 7 once more.
Read the following do’s and dont’s for a successful grow.
Despite the fact that mushroom grow kits are easy to grow and reasonably idiot-proof, we have listed the most important points for you. Such as temperature, light, humidity, the first mushrooms and the growth cycle.
Temperature
The ideal temperature for mushrooms to develop is 24°C. Do not have the temperature drop under 20°C and not exceed 29°C. To keep the temperature from dropping under the 20°C, you can use a Thermo Heatingmat to maintain the ideal temperature. A thermo mat is a must-have in the winter or colder regions of the world.
Light
The magic mushroom kit only needs light for the mycelium to ‘understand’ it has reached the surface. Only then, mushrooms will grow. A few hours of fluorescent/artificial light or indirect sunlight a day is more than enough. Direct sunlight kills the mycelium, so avoid the sun to shine directly on the grow kit.
Humidity
The day the first pins show you begin with misting. Open the grow bag by removing the paperclip. Do not spray directly on the cake but spray one time against every side of the bag. So you mist once a day, four sprays. Misting also vents fresh oxygen inside the bag. Right after misting, close the bag again with the paperclip. GetMagic® 3XL Magic Mushroom Grow Kit
Frequent air exchange (FAE)
Keep the grow bag closed untill you see the frist pins, CO2 should be as high as possible to induce pinning. After the pinning stage you can open the bag 1-2 times a day to let in fresh air. Open and close the bag and push out the air and let is some new.
The 1st shrooms!
If the cultivation conditions are optimal, you can expect the first small mushrooms (the pins) to appear between 10 and 20 days. This also depends on the strain. Some cubensis strains grow slower than others. to reach maturety it can take up another week. A full grow cycle can take up to 4-5 weeks.
Flushes
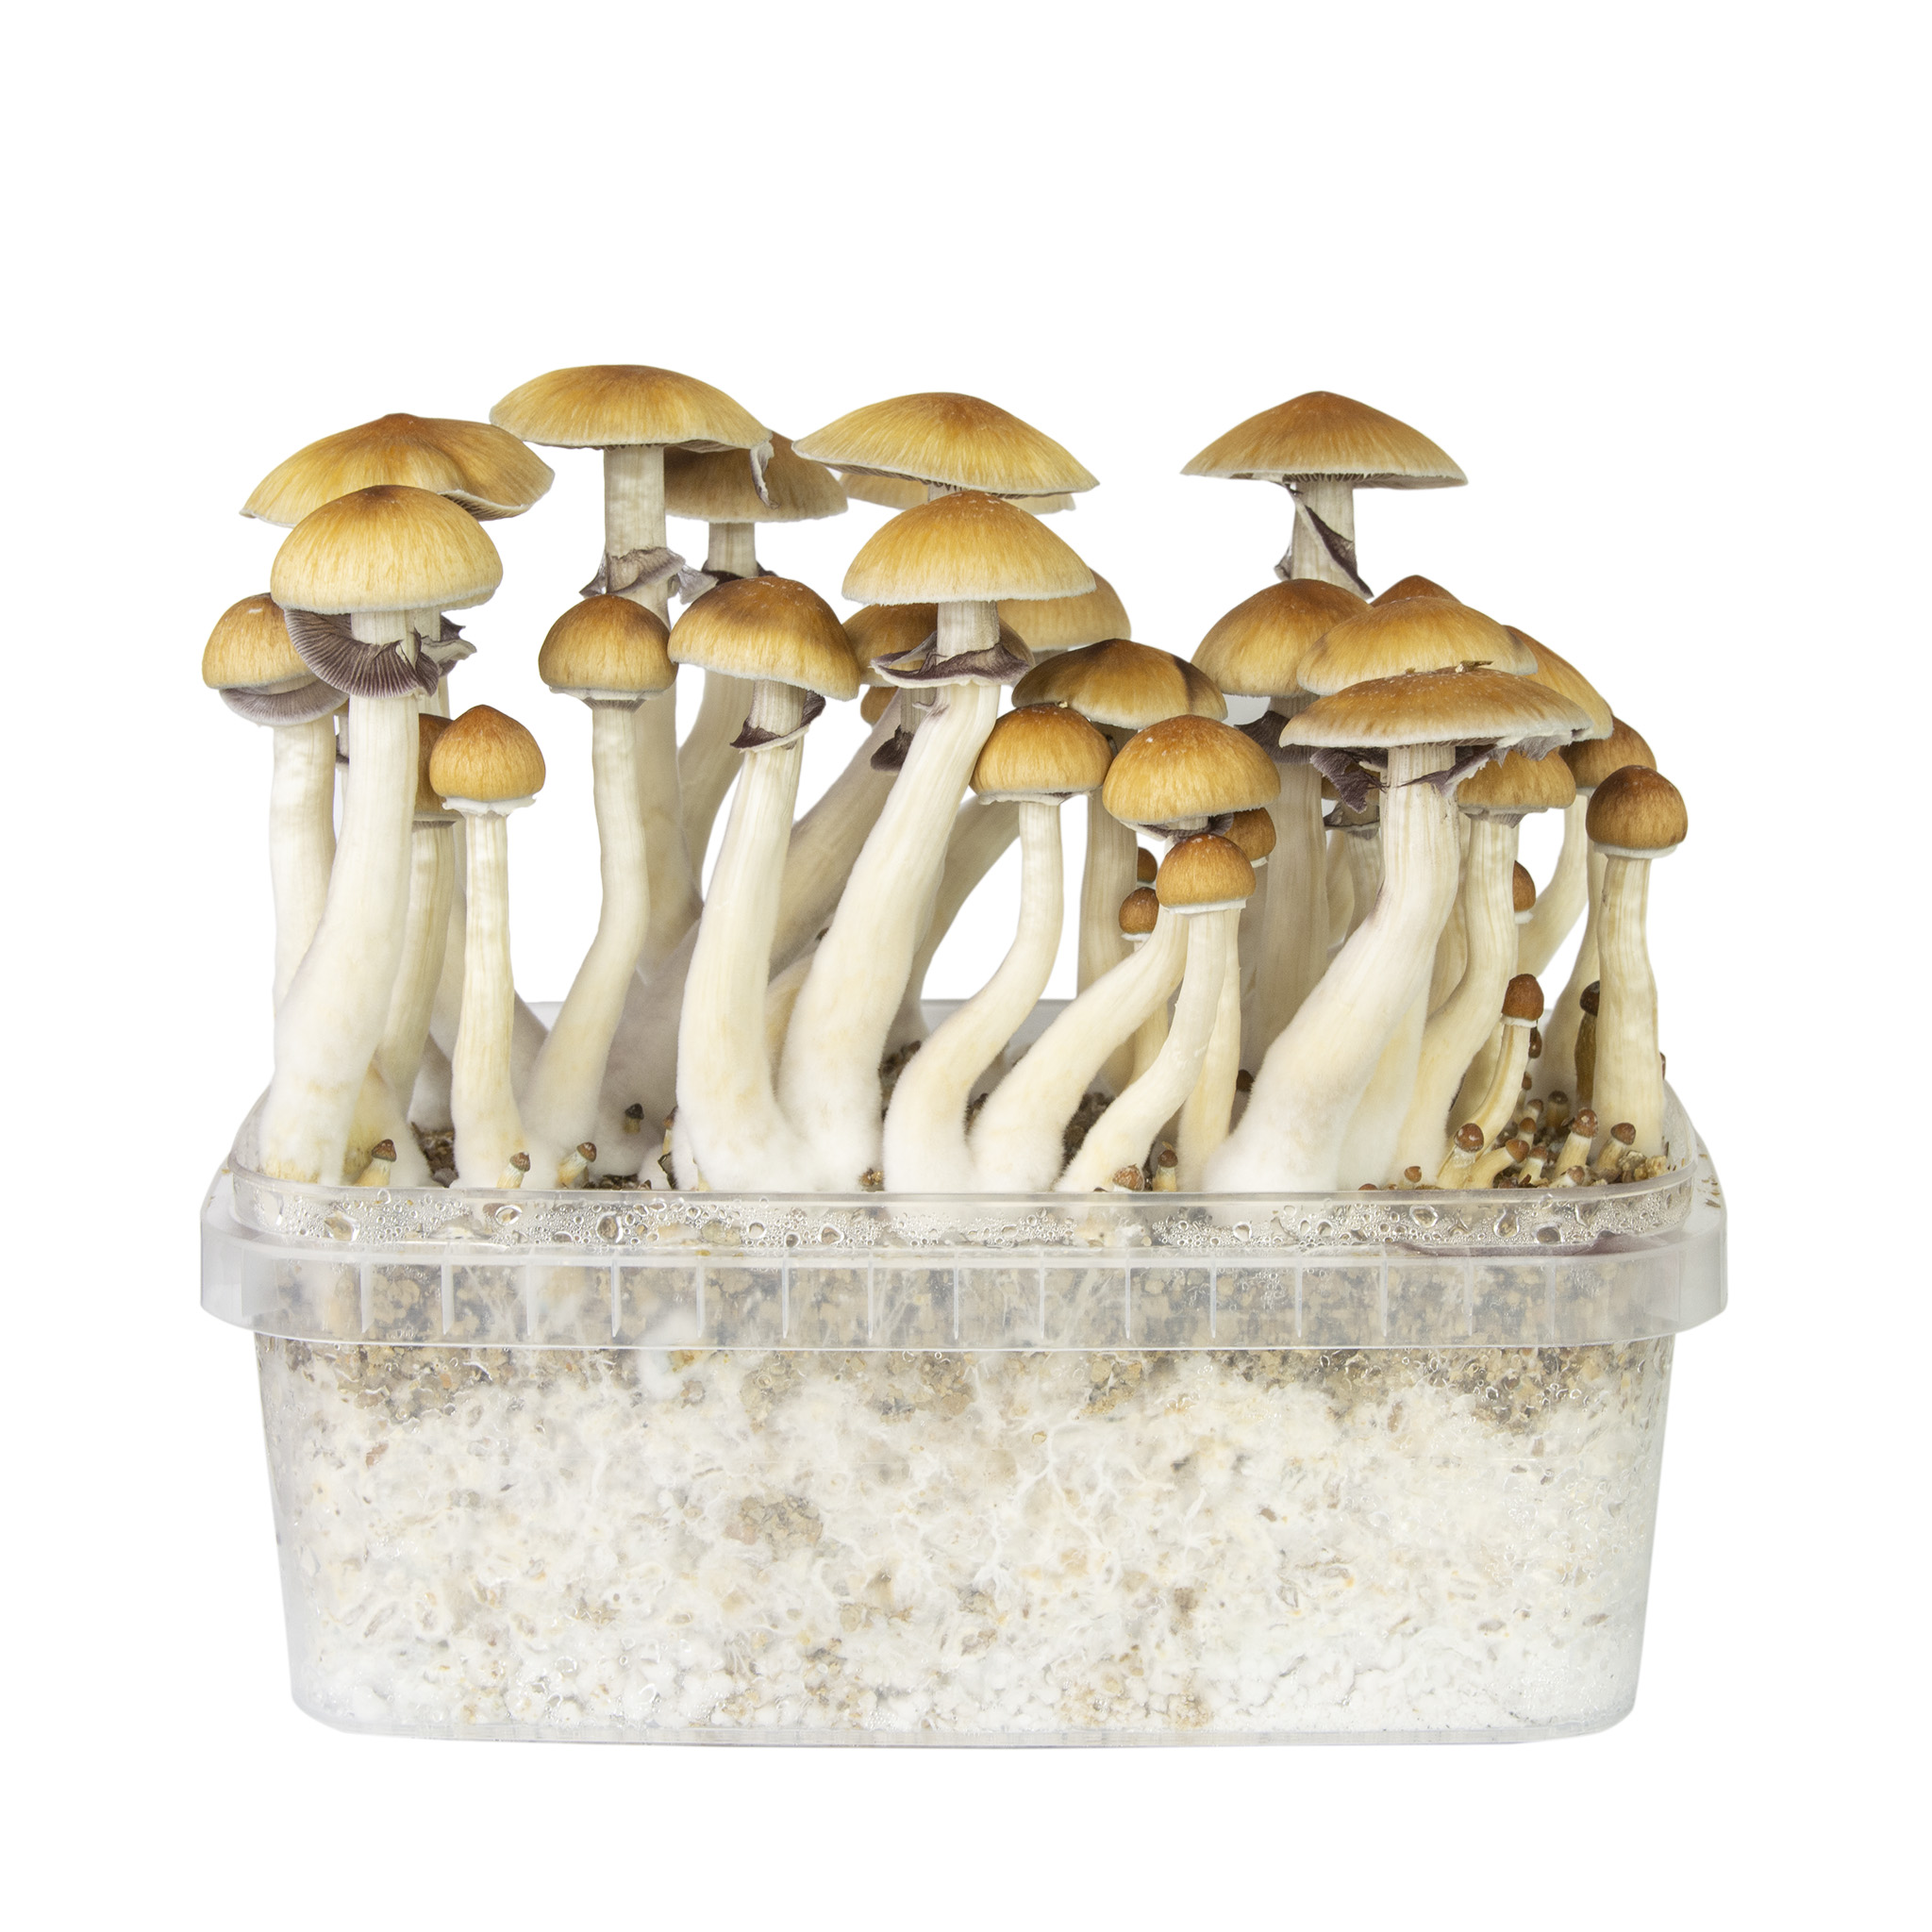
The mushrooms come up in groups. A growth like this is called a flush. You can get more than one flush out of a kit. The first two flushes are the largest. When more flushes come, they will be smaller than the previous one.
Picking and Harvesting
Mushrooms should be picked when the veil between the hat and the stem is about to or has just torn. Don’t wait longer or the mushrooms drop their spores. Pick the mushrooms that are ripe and let the others continue to grow. The other option is to remove all the mushrooms and start a new flush.
How to pick your mushrooms:
- Use surgical gloves or disinfect your hands, wrists and arms.
- Remove the mushrooms from the cake by taking hold of the base of the mushroom between thumb and index finger.
- Rotating your hand clockwise slowly, until the mushroom lets go.
Do not pull out the mushrooms. This would risk damaging the mycelium and killing it. When most of the larger mushrooms have been picked, also pick the smaller ones and the pins as well.
Mushrooms that grow from the sides
Mushrooms grow where the light reaches and where there is little penetrating resistance. Because the cake has light shining on the sides, the mushrooms might also grow there. You have a few options:
- Darken the sides of the kit by putting it in the cardboard box.
- Spray the top soil a bit to stimulate more growth on the top
- Do nothing and let them grow
Soaking
After all the mushrooms are harvested, you prepare the kit for the next flush. Disinfected your hands or use gloves; take the grow box out of the grow bag.
- Fill the container with lukewarm water (20°C)
- Take the lid use it to close the container.
- Let it soak for 5 – 20 minutes.
- Remove the lid, and drain the water
- Place the growkit in the growbag and fill the growbag with a cup (200-250ml) of lukewarm water (20°C)
This is called the soaking process. Water will now soak through the cake, preparing it for the next flush.
During the soaking you can hang the grow bag with micronfilter upside down to dry. Many growers prefer to use new and unused grow bags after every flush.
Next Flush
To continue, follow the same steps 2 – 7 as before when you started the process for the first time. Several days later, a new flush will appear. You can get at least 2 flushes out of a grow kit. The first flush often is the biggest.
The End
When no more mushrooms grow out of your grow kit after the second flush for at least 5-6 weeks, or when the grow kit turns green, red, grey or yellow; the grow kit can be disposed of. The change in color is a sign that the grow kit is contaminated with another fungus or bacteria. No more mushrooms will grow out of the mushroom grow kit and the grow kit should be thrown away in the garbage outside or in your garden.
Spores
When you are too late picking the mushrooms, they will drop their spores. The cake and the mushrooms will turn black/purple (some other cubensis strains red/brown) because of the spores. This is not really a problem; it just doesn’t look very pretty.
When mushrooms release their spores, they also start to degrade, and the active ingredients are breaking down. Mushrooms will lose some of their potency.

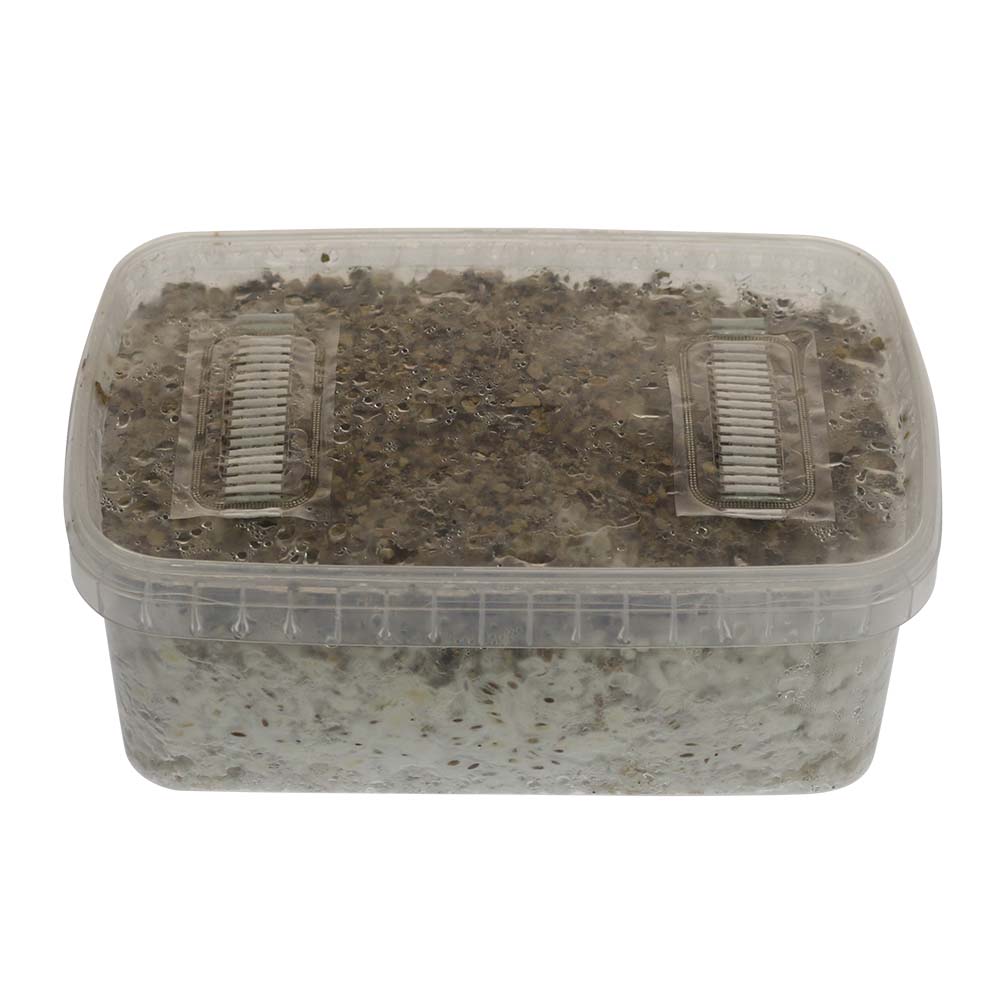


 After giving the growkit a good cleaning with a dry cloth, wash your hands completely. Take off the lid and set it aside for step 2.
 Replace the growkit cover, add enough lukewarm (20°C) water to fill the growkit to the brim, and let it soak for five minutes.Remember, don’t soak the growkit for longer than an hour!
 Take off the growkit’s lid and thoroughly empty the water. Give the growkit ten seconds to empty.
 After setting the growkit inside the growbag, add a cup (200–250 ml) of warm (20°C) water to the growbag. Next, fold the bag’s top and secure it with two paperclips.
 The growkit should be placed in a room with an average temperature of 20 to 25°C. Verify that the growkit is not placed directly in the sun, beneath a lamp, or next to a radiator or other heat source.
 Once the first pinheads* appear, spritz the growkit with a bottle of water and let some fresh air into the growbag once a day for a few minutes.The earliest known types of microscopic mushroom caps are pinheads. The first pinheads may not appear for ten to twenty days.
 It is possible to harvest the mushrooms right before the membranes on the underside of the cap split open. Gently grip the stem and rotate it left or right while harvesting. Pull the mushroom out as gently as you can as it becomes free.
 You’ve finished harvesting, congratulations. You can now cultivate another flush of mushrooms by going through steps 1 to 7 once more.

Reviews
There are no reviews yet.